How to Create a Workflow
Workflows in SparrowDesk help you automate repetitive tasks using the visual workflow builder.
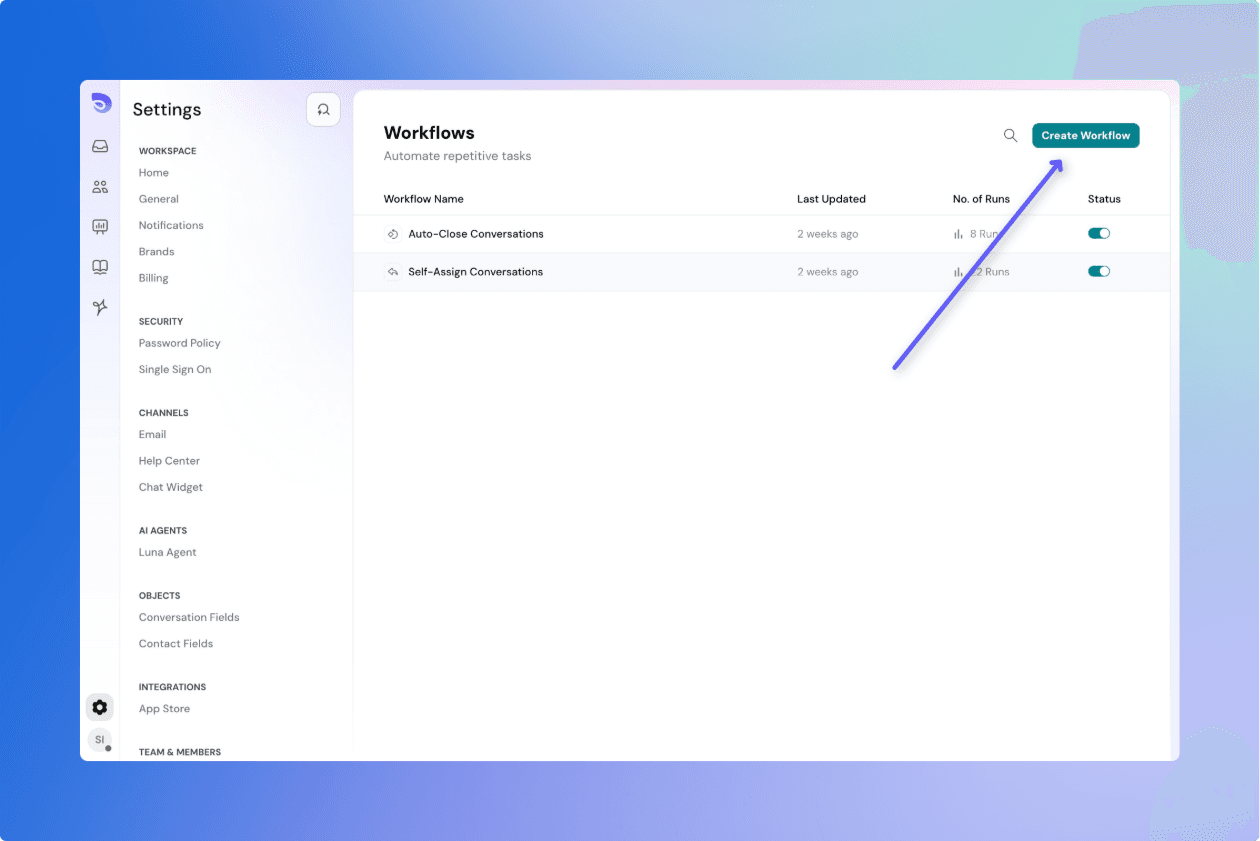
Create a new workflow.
To start a new workflow:
- Go to Automations from the left sidebar.
- Select Workflows.
- Click Create Workflow at the top-right corner.
Choose a Trigger
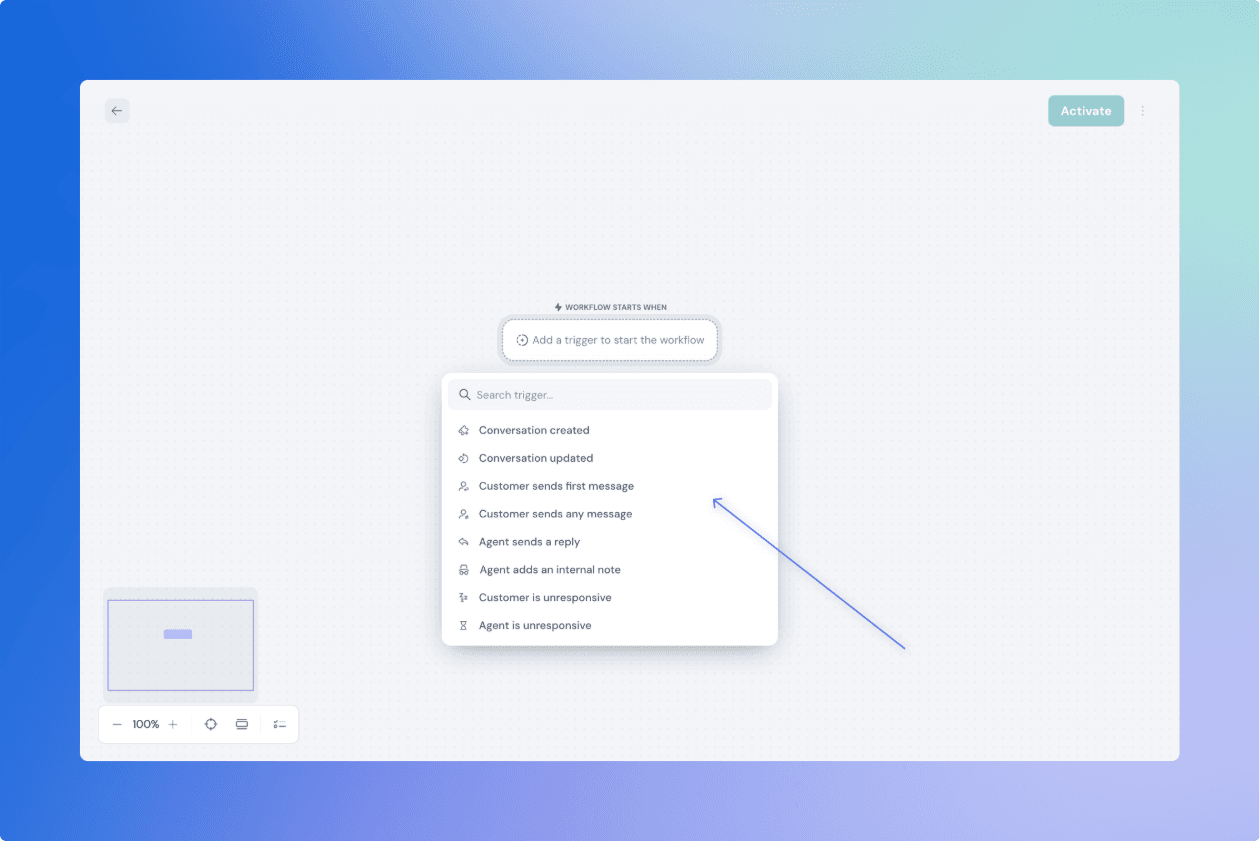
Begin with a trigger block—this defines when the workflow should run.
Example triggers:
- Customer sends first message
- Ticket status is updated
- Agent sends a reply
- SLA is breached
After selecting a trigger, you may need to configure details such as:
- Channel (Email or Chat)
- Run only when conditions to narrow down when this workflow should run.
You can change the trigger anytime by selecting the block.
Add action blocks
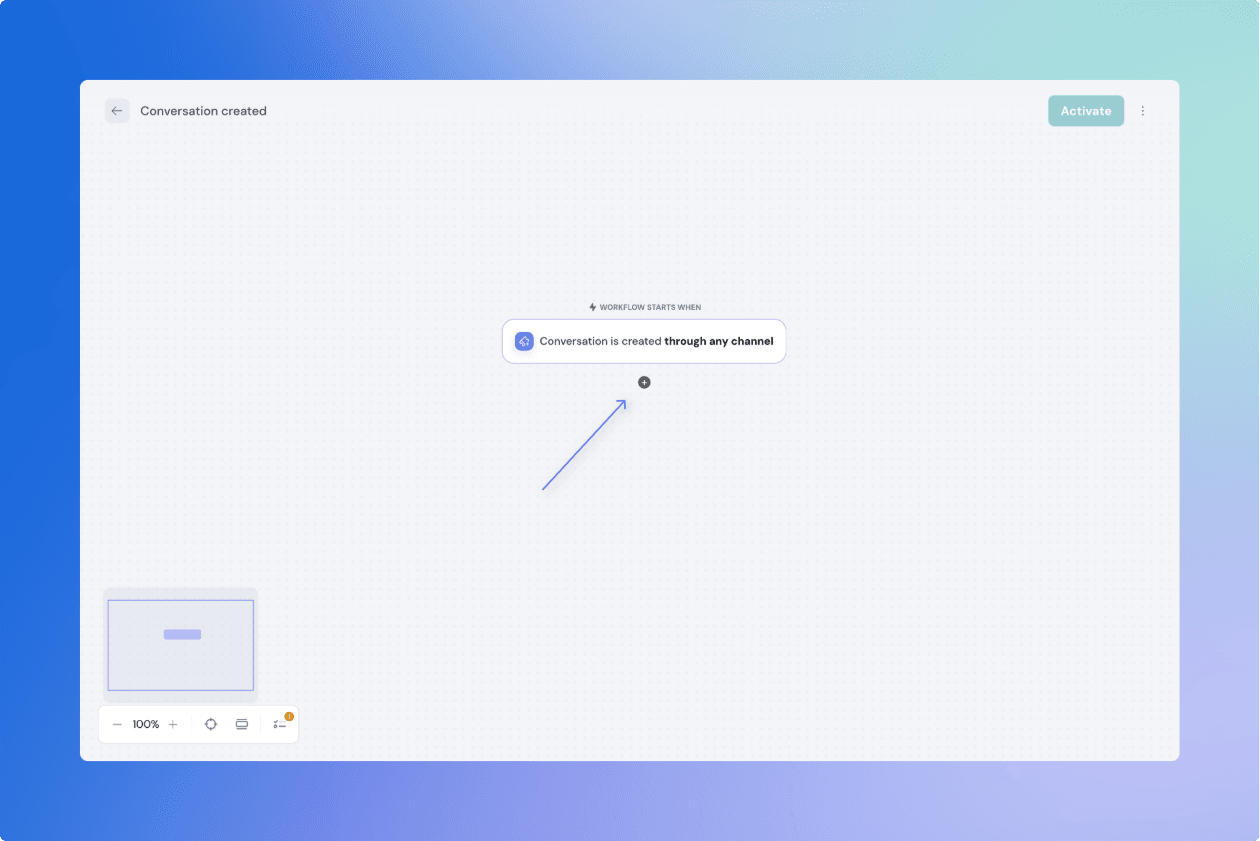
Once your trigger is set, use action blocks to define what the workflow should do. Some actions blocks are ,
- Send Reply: Send a message in the same channel
- Send Email: Send a standalone email to a teammate or contact
- Update Fields: Modify ticket, contact, or custom object fields
- Add Tags: Append new tags to the ticket
- Add Internal Note: Leave a private note for your team
- Wait: Add a delay before moving to the next step
- Send HTTP Request: Trigger an external API call
- Exit: Stop the workflow at that point
Click the + icon between blocks to insert the next action.
Reorder, organize, and delete blocks
Connect and disconnect blocks
- Drag from the blue dot on one block to another to connect them.
- Click a connection line and press Delete to remove it.
- All blocks must be connected with blue lines to publish. Grey lines mean the block is incomplete.
Organize blocks
Click Organize blocks in the toolbar to auto-align all blocks neatly.
Delete blocks
To delete:
- Select a block and click Delete Block in the bottom-right, or press Delete on your keyboard.
- To bulk delete, use Shift+Click or drag to multi-select.
Give a name to the Workflow
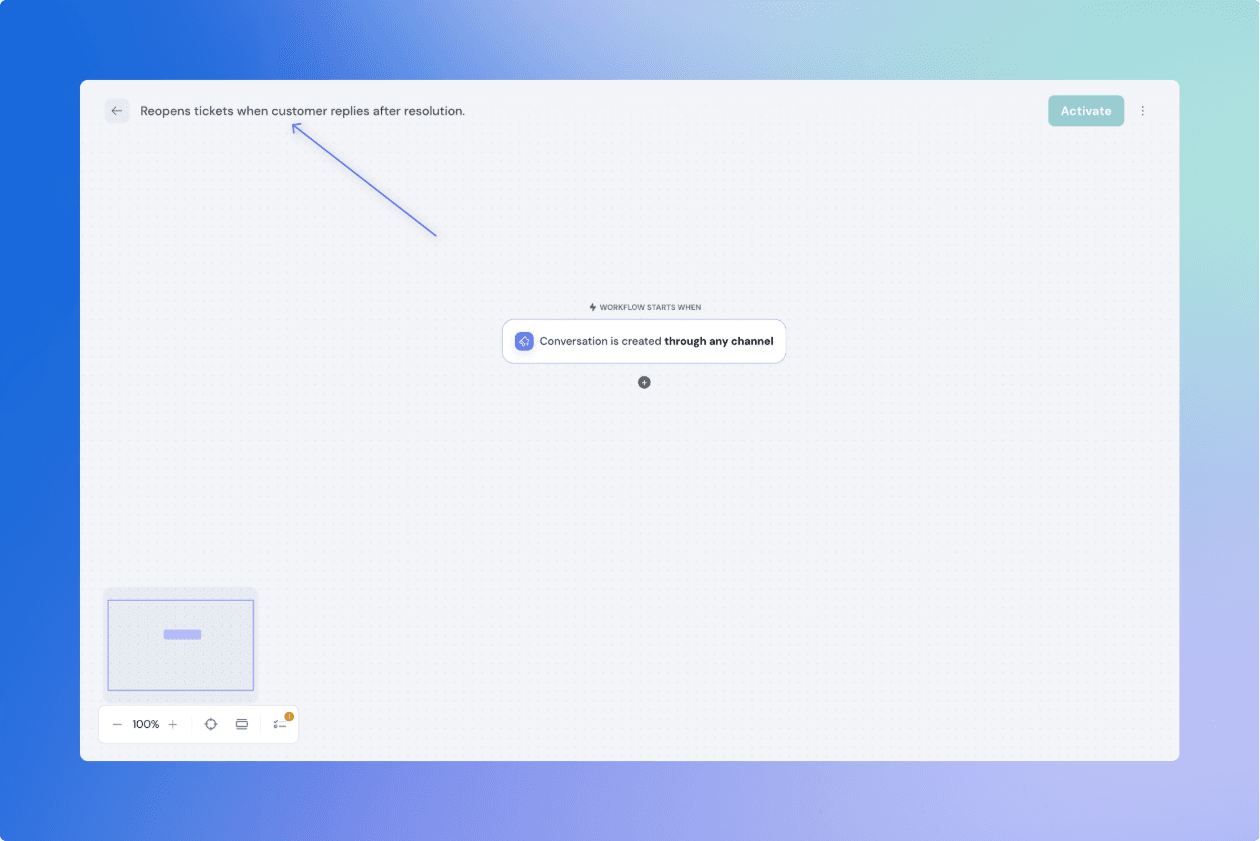
Give your workflow a name and a clear description:
- Click the top-left workflow title to rename it.
- Example: “Reopens tickets when customer replies after resolution.”
Activate a workflow
Once your workflow is fully configured:
- Click Activate at the top to activate it.
- If something is missing (e.g., input not set), error badges will appear on those blocks.
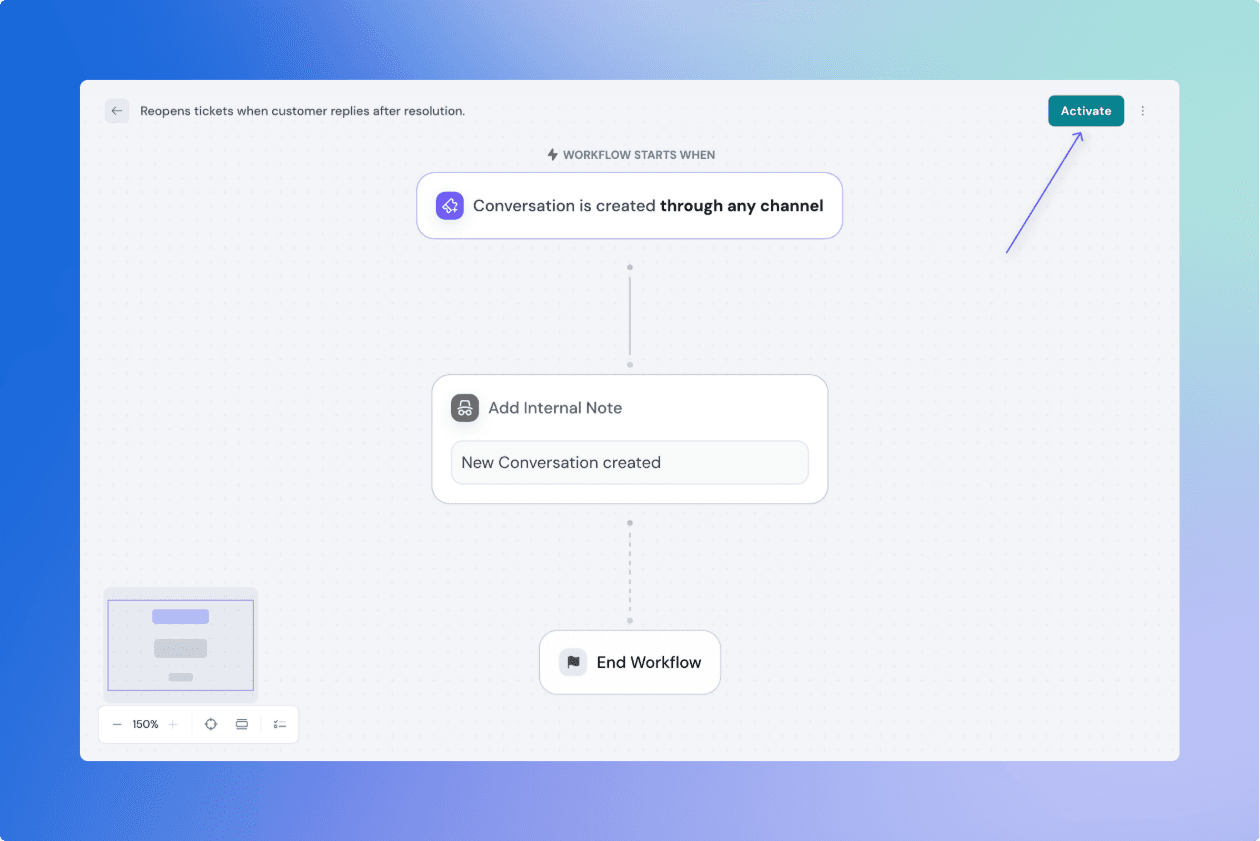
When you make any changes to the activated workflow , Click Activate Changes to make the changes live.To undo edits and revert to the last live version, click under 3 dots Discard Changes.
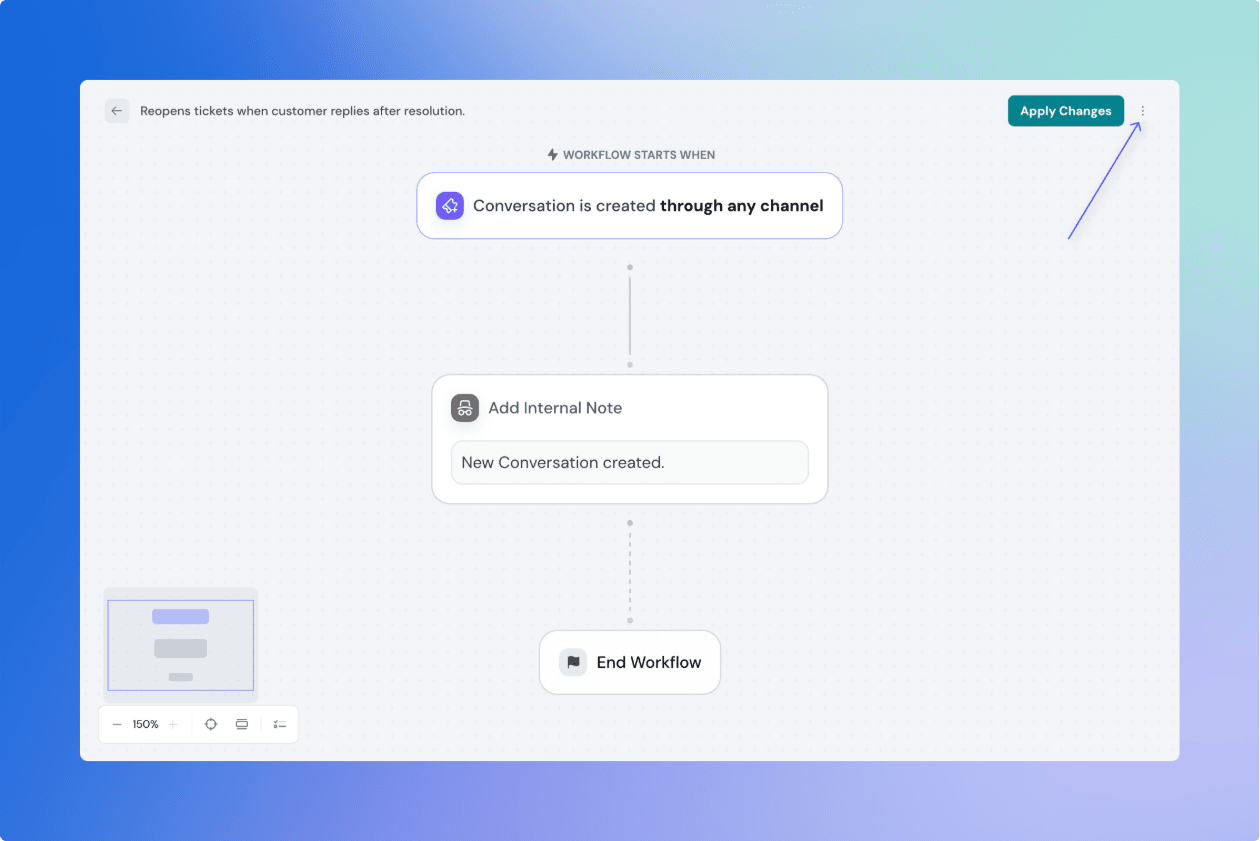
Deactivate
- Toggle to deactivate the workflow.
- Inactive workflows won’t run—but any currently running executions will continue.


