Macros
Macros let you apply multiple actions to a with just one click. They’re a simple way to save time and keep your replies consistent.
What you can do with macros
With a macro, you can:
- Send a pre-written reply
- Leave an internal note
- Assign the ticket to an agent or team
- Update status or priority
- Add or remove tags
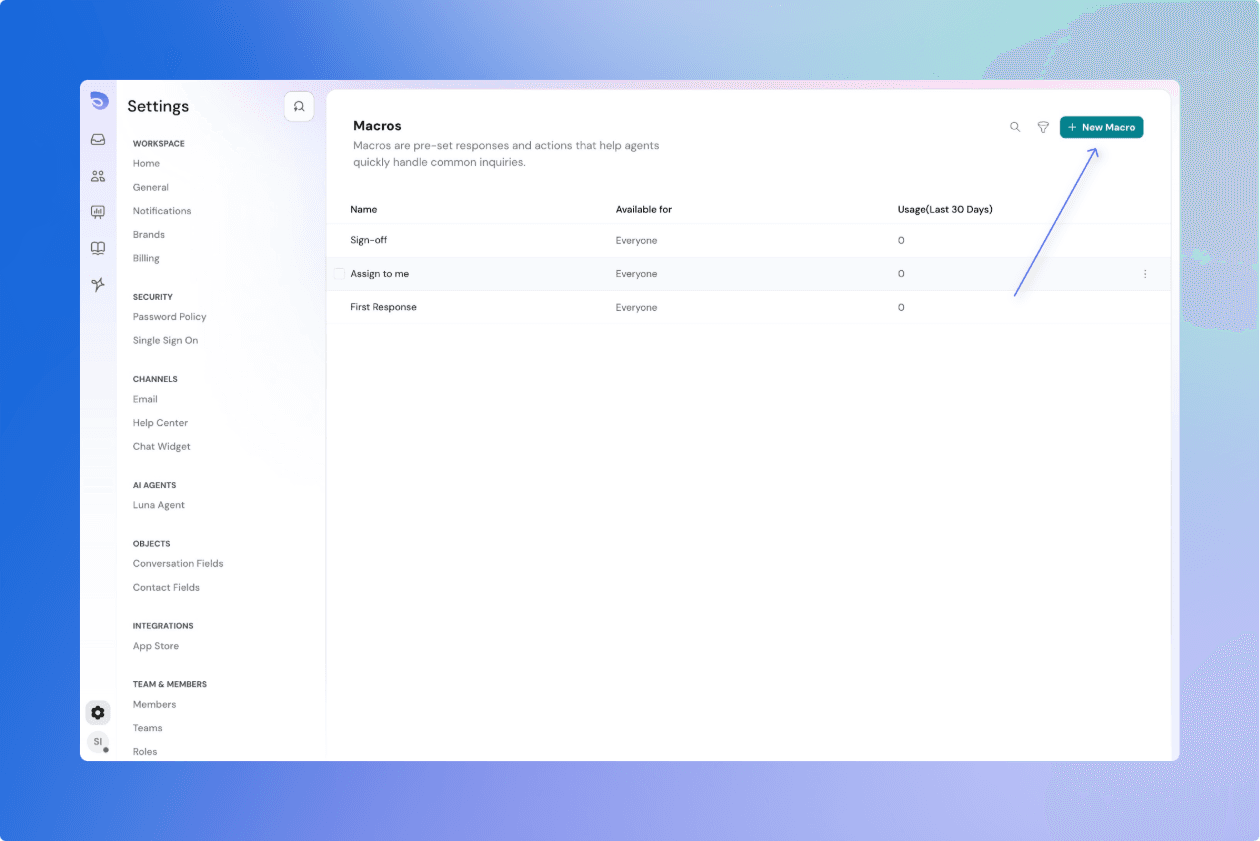
Create a macro
- Go to Settings → Macros
- Click New Macro
- Add the actions you want the macro to perform
- Choose who can use it:
Everyone – all users in your SparrowDesk account
Specific Teams – only visible to selected teams
Only Me – private to you
5. Save and enable your macro
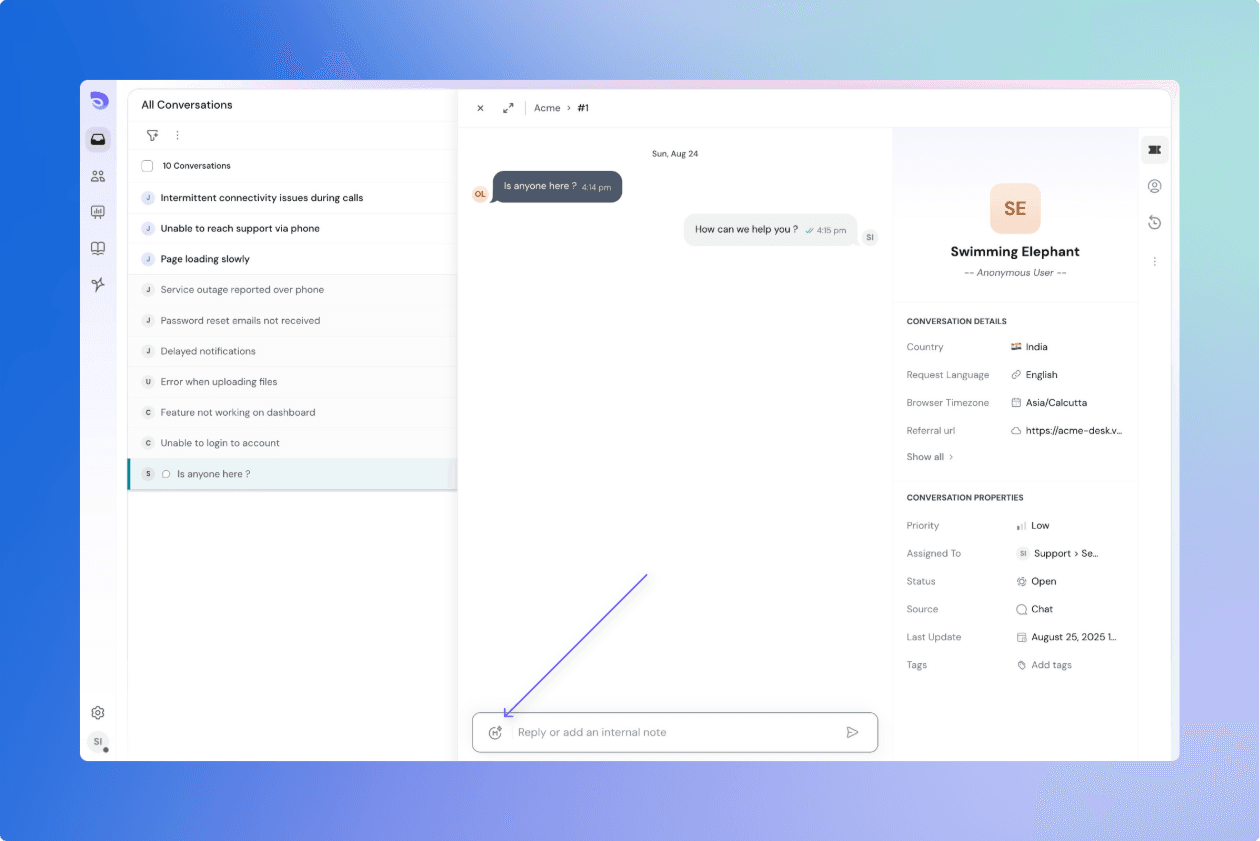
Use a macro in the inbox
You can apply macros directly while working on tickets:
- Press M on your keyboard to open the macro menu
- Or click the macro icon in the toolbar
Select a macro, and SparrowDesk will apply it instantly.
You can edit the reply or details before sending — your changes will only affect this ticket, not the saved macro.
If you can’t see a macro:
- Make sure it’s enabled
- Check that it’s shared with your team
- Confirm your role has permission to use macros
Enable or disable a macro
- Enabled macros: show up in the inbox and can be used
- Disabled macros: hidden from the inbox but not deleted
This is useful if you want to pause a macro temporarily.
Best practices
- Give macros clear names, e.g. “Close with thanks”
- Keep them updated so replies don’t go out of date
- Review usage to see which macros are most helpful
- Remove old macros you no longer need