Search
Contact fields help you store and manage important information about your customers. They enable agents to view details about a contact and personalize support interactions. You can use both default fields and custom fields to organize this data.
To view or manage contact fields in SparrowDesk:
Cmd + K) and search for Contact Fields to jump directly.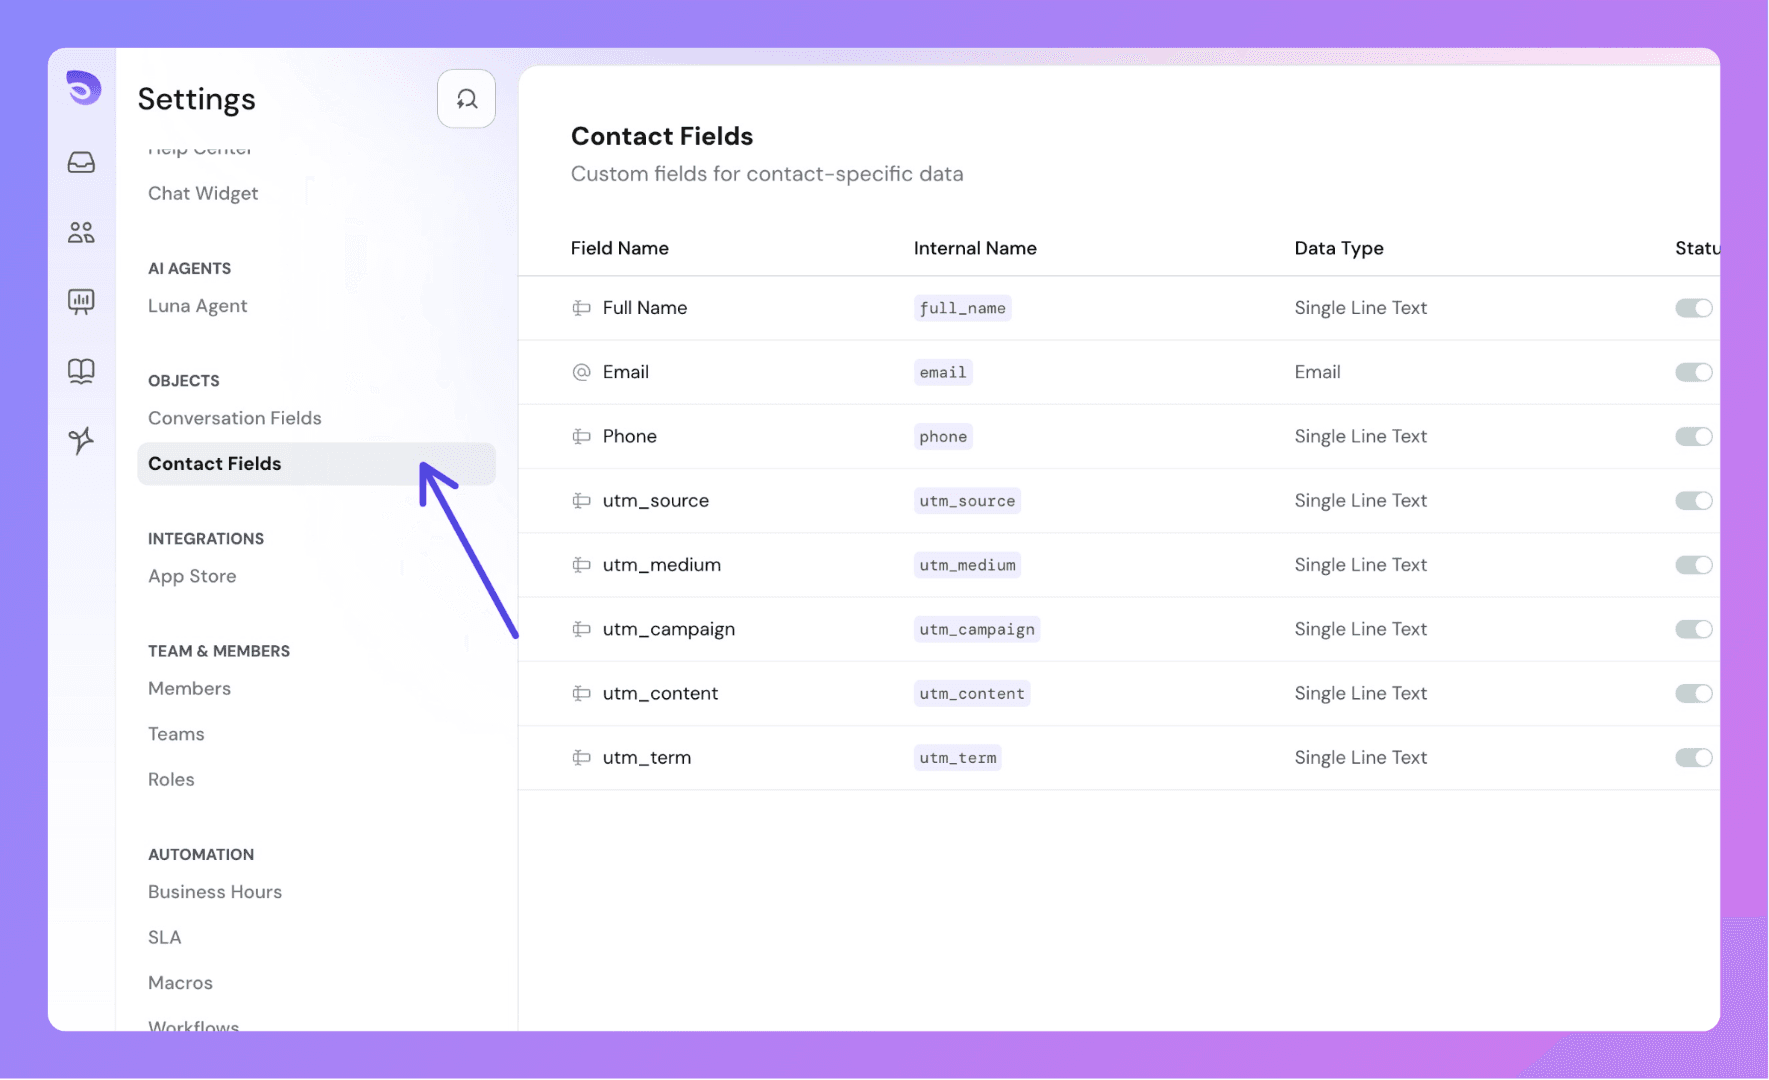
SparrowDesk provides a set of default contact fields that are always available and cannot be deleted or disabled:
Full Name: Automatically constructed from first and last names.
Email: Customer's primary email address.
Phone: Customer's phone number.
+ (international) or 0 (local).+, digits 0–9, -, (, )UTM Parameters (latest captured during chat):
utm_sourceutm_mediumutm_campaignutm_termutm_contentThese fields are automatically populated when a conversation starts via the chat widget and help agents understand the user's journey and context.
In addition to default fields, you can create custom contact fields to capture any additional data relevant to your workflow — such as membership level, customer ID, product type, etc.
Step 1: Click on the settings icon from the left panel, and click on Contact Fields. Or use Compass (cmd +k) and search for contact fields.
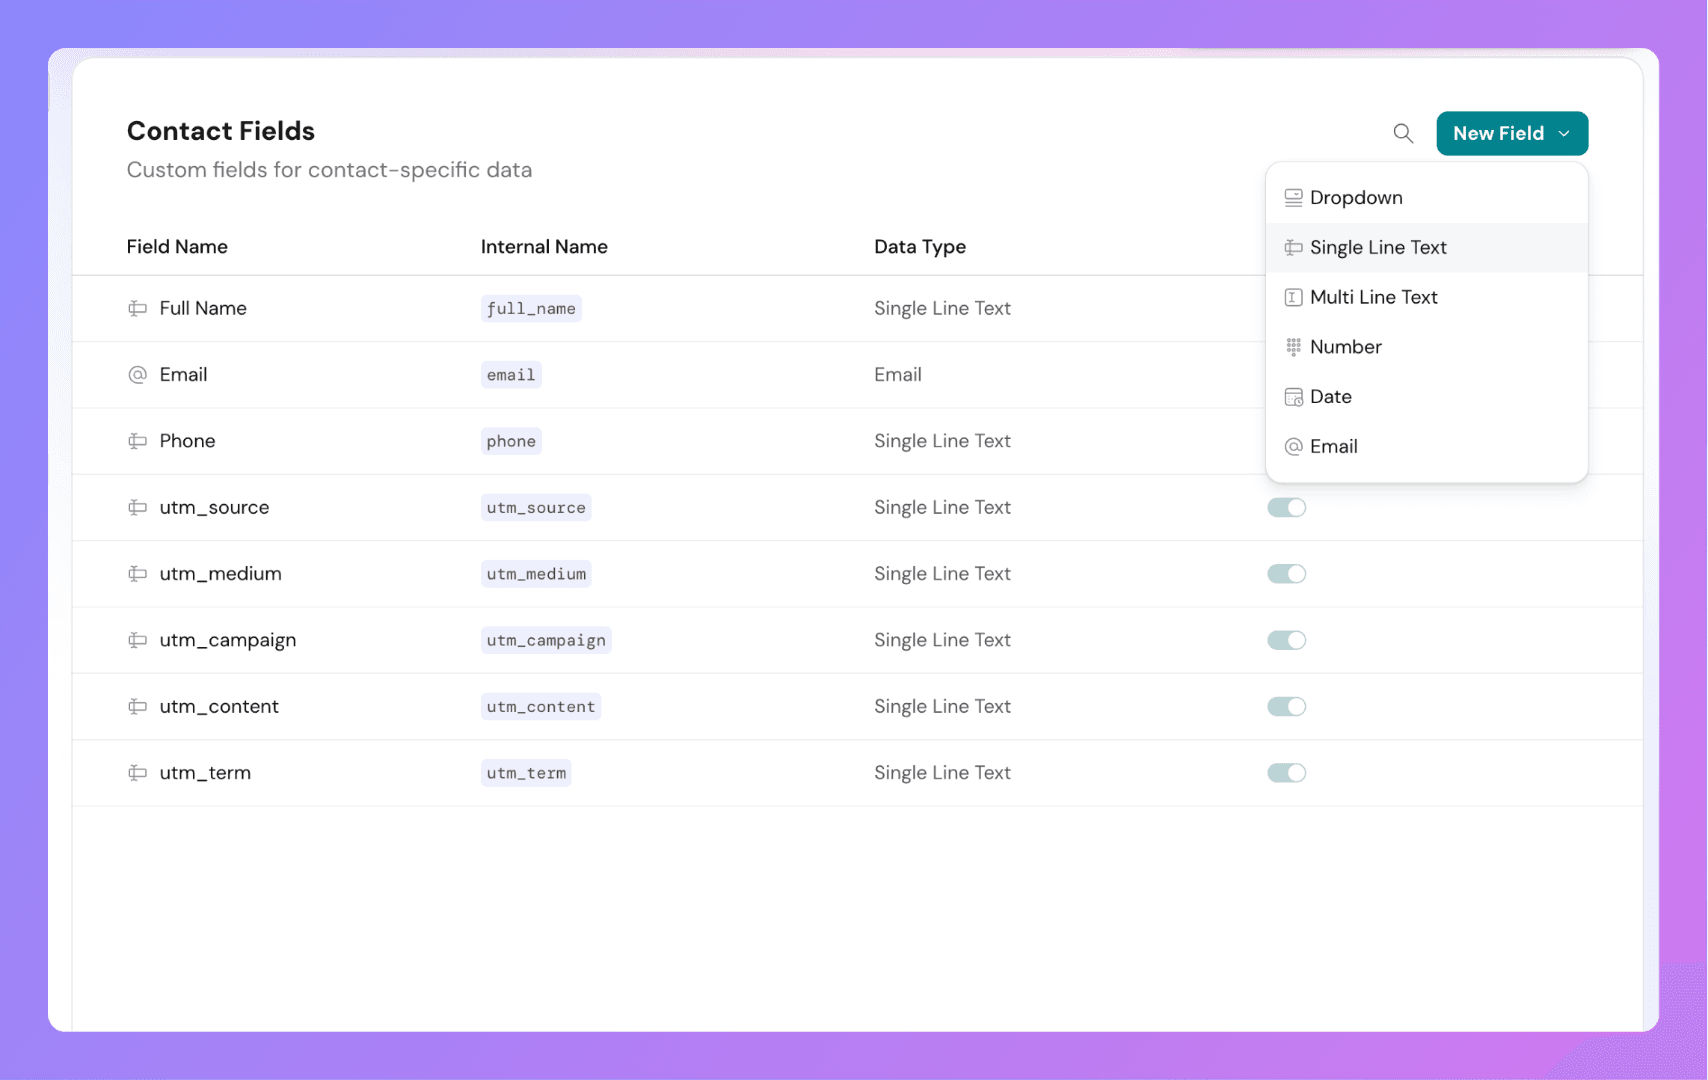
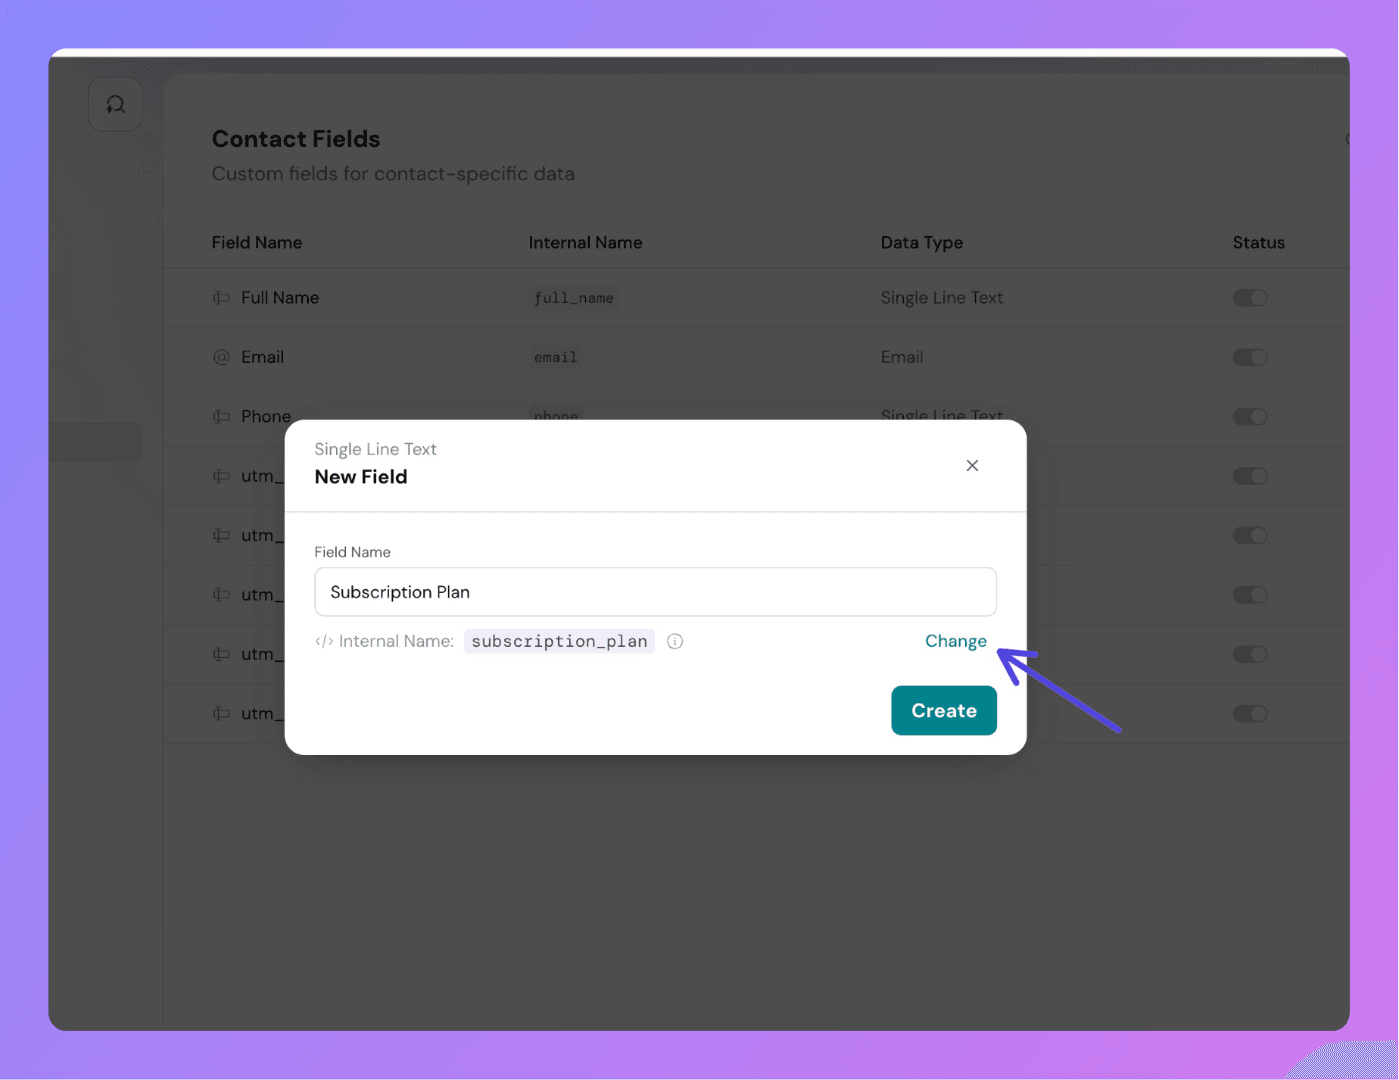
Step 2: Click on “New Field”.
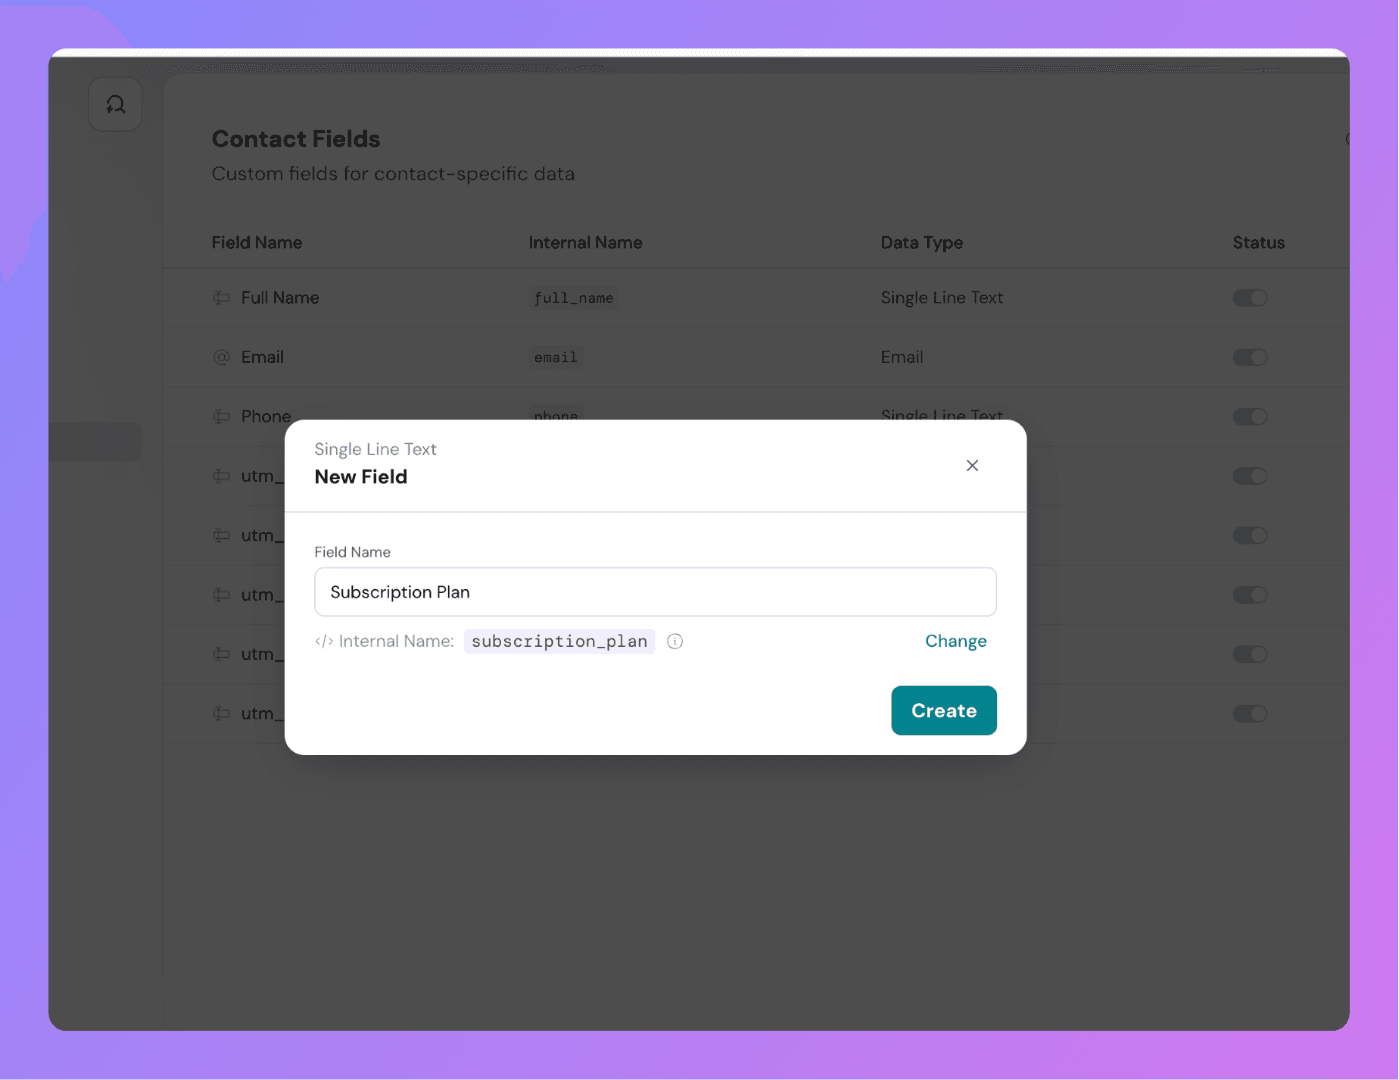
Step 4: Enter a Field Name (e.g., “Subscription Plan”).
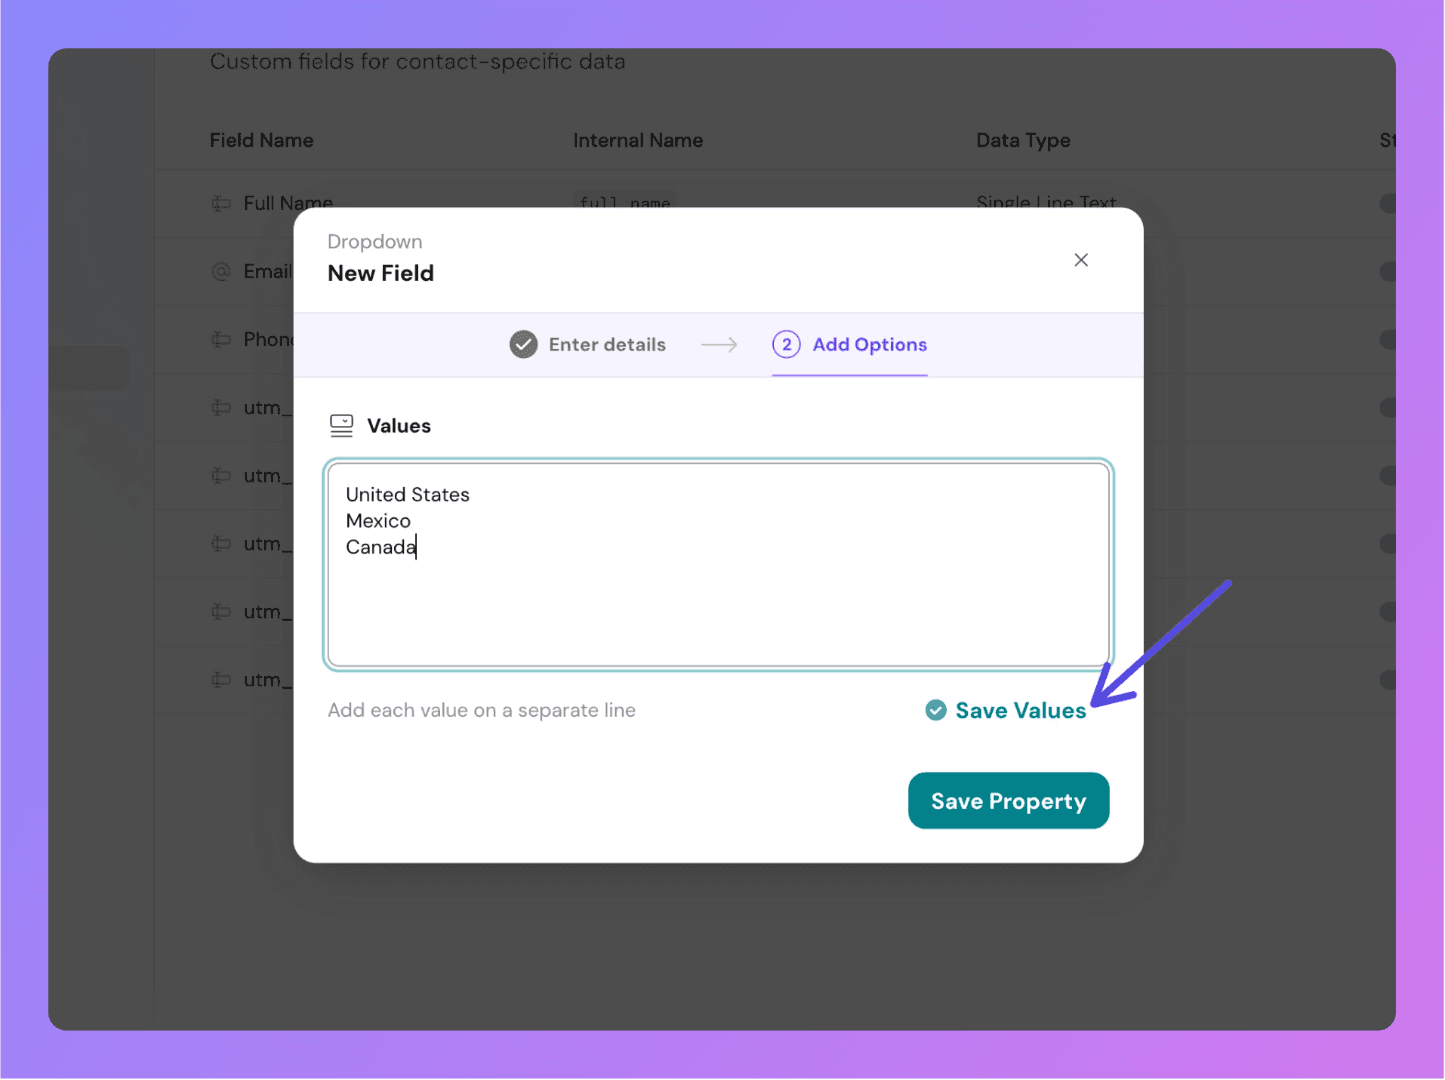
You can choose from the following field types:
Each custom field has a system-assigned internal name used in APIs and integrations.
company_size.This internal name is important for API usage and integrations, where fields are referenced programmatically.
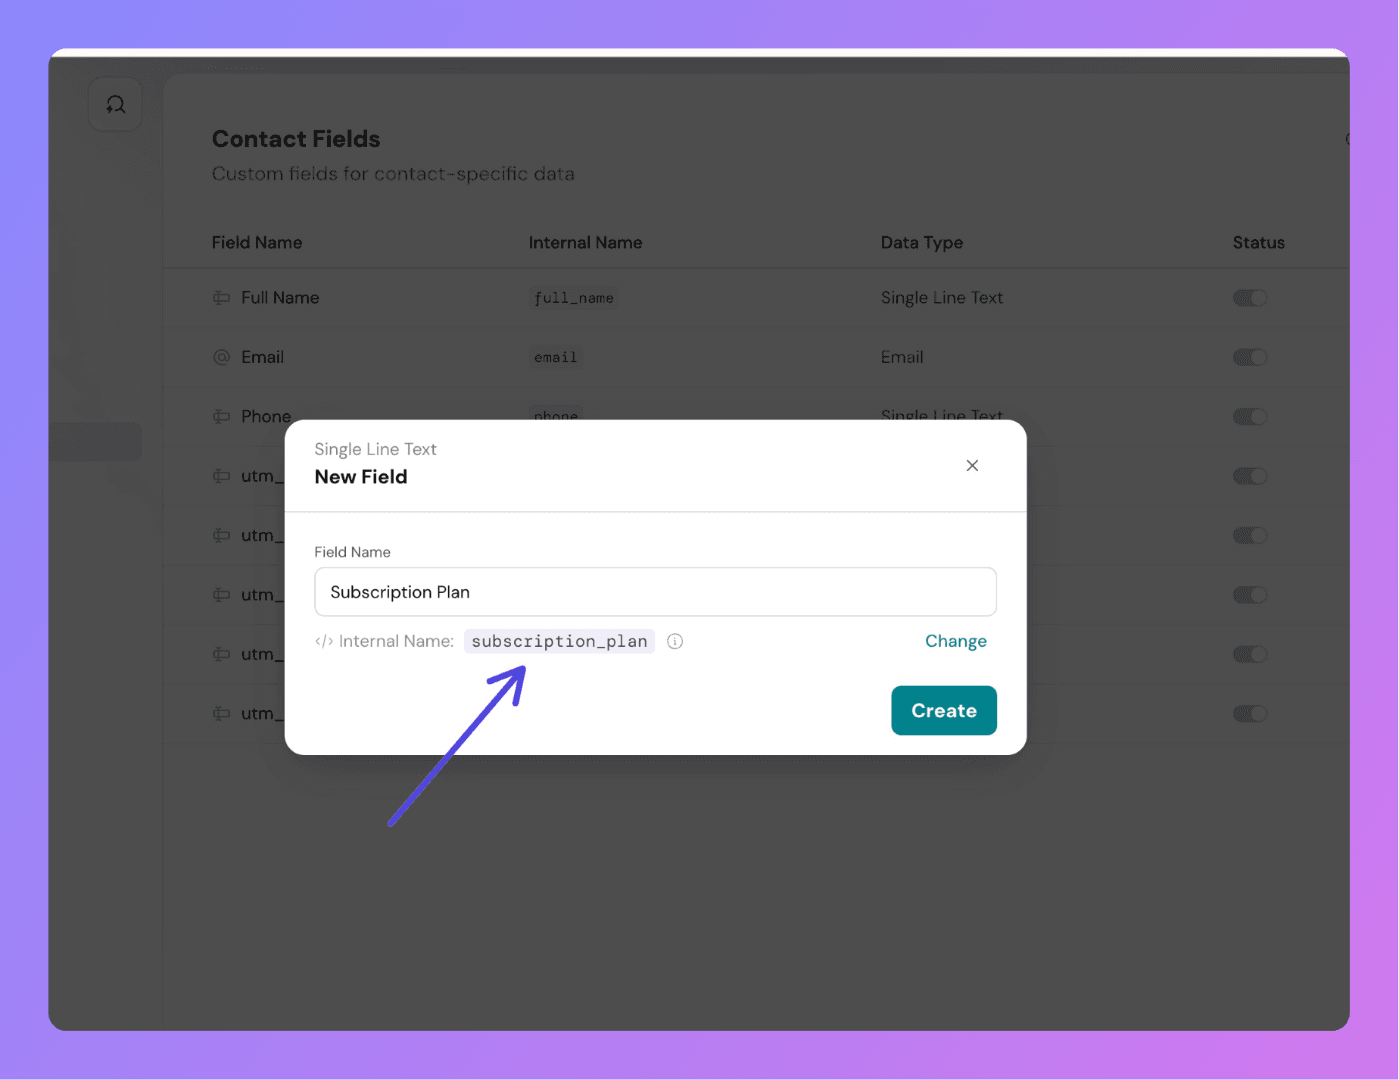
You can modify the internal name only at the time of creating a custom contact field. To do this, click on the Change button that appears during field creation. This allows you to set a custom internal name before saving.
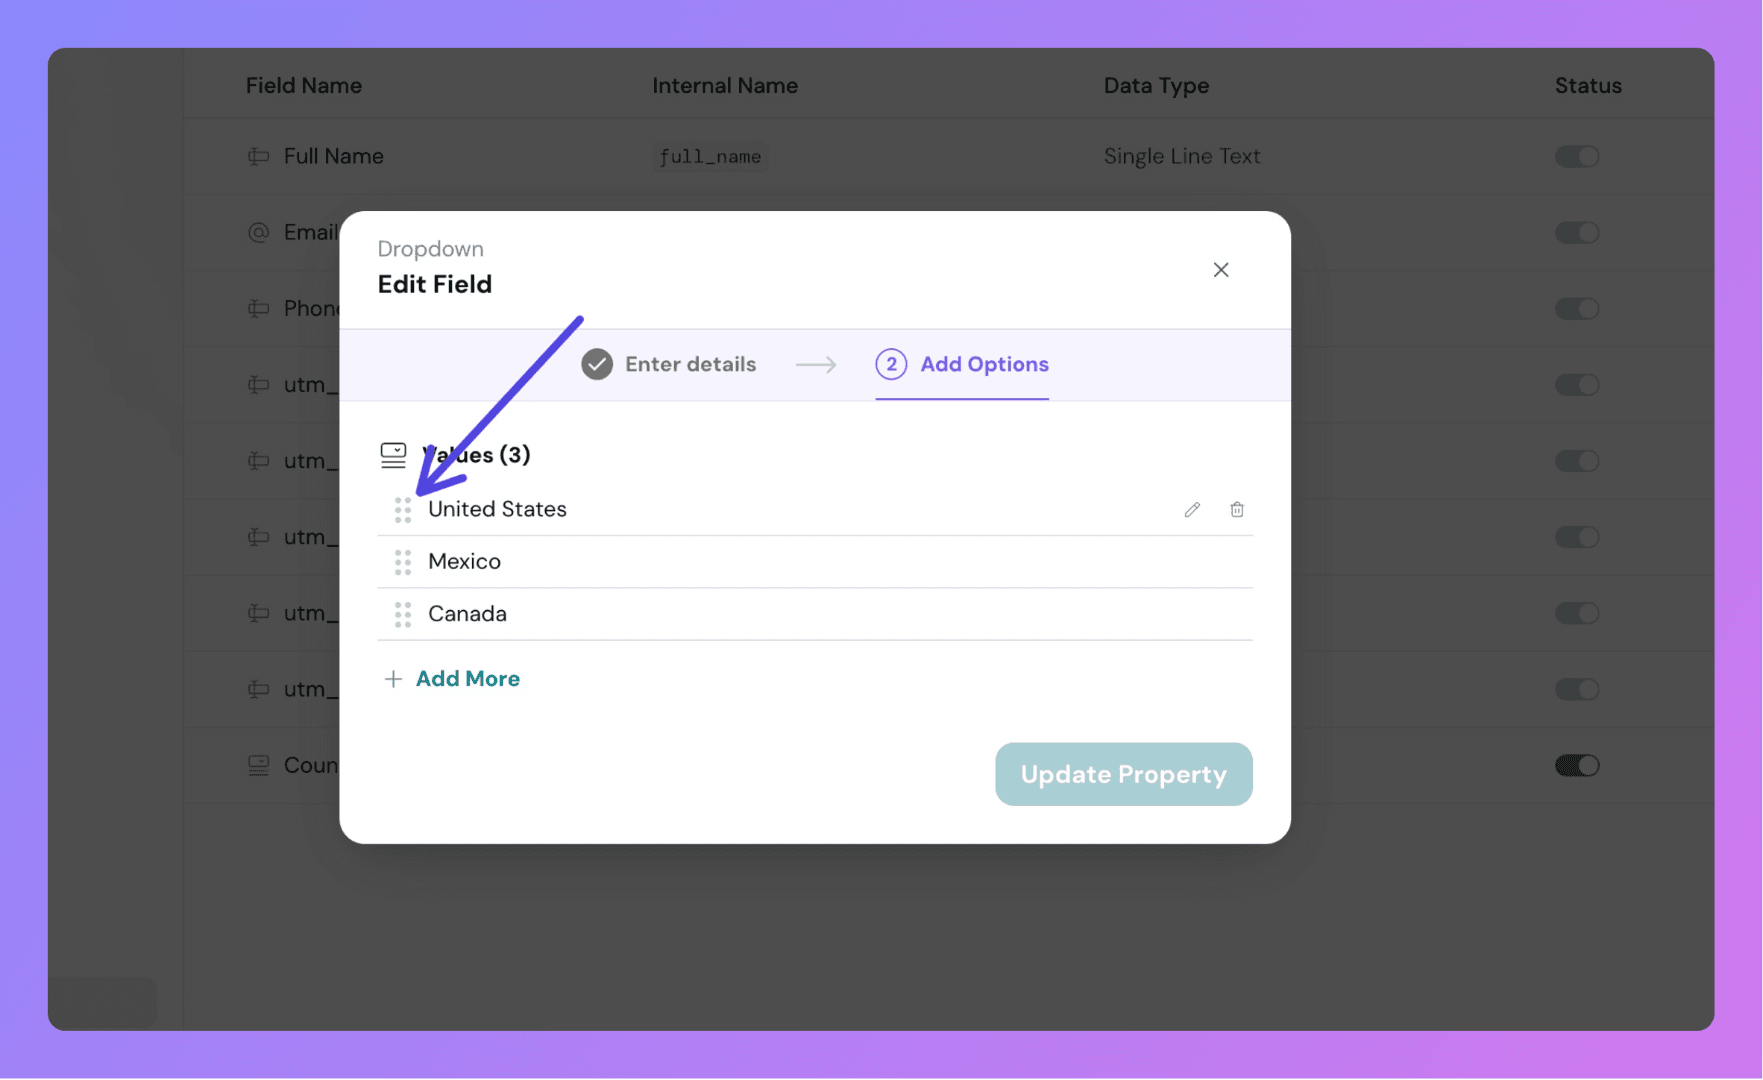
Once the field is created and saved, the internal name becomes locked. Even if you later update the field's label or dropdown options, the internal name remains unchanged.
This is done to maintain consistency across APIs and integrations that rely on this internal identifier.
When a field is disabled:
Once created, contact fields are visible in:
Agents can modify these values as needed, depending on their permissions.
Powered By SparrowDesk